Creating a RAID Set
Before you can create a RAID volume, you need to combine physical drives into a
logical disk called a RAID set.
The number of drives needed to create a RAID set depends on the RAID level you want
to use. You can use a single drive to create an Enhanced JBOD set, two drives to create
a RAID 0 or RAID 1 set, three or four drives to create a RAID 0 or RAID 5 set, or four
drives to create a RAID 0+1 set.
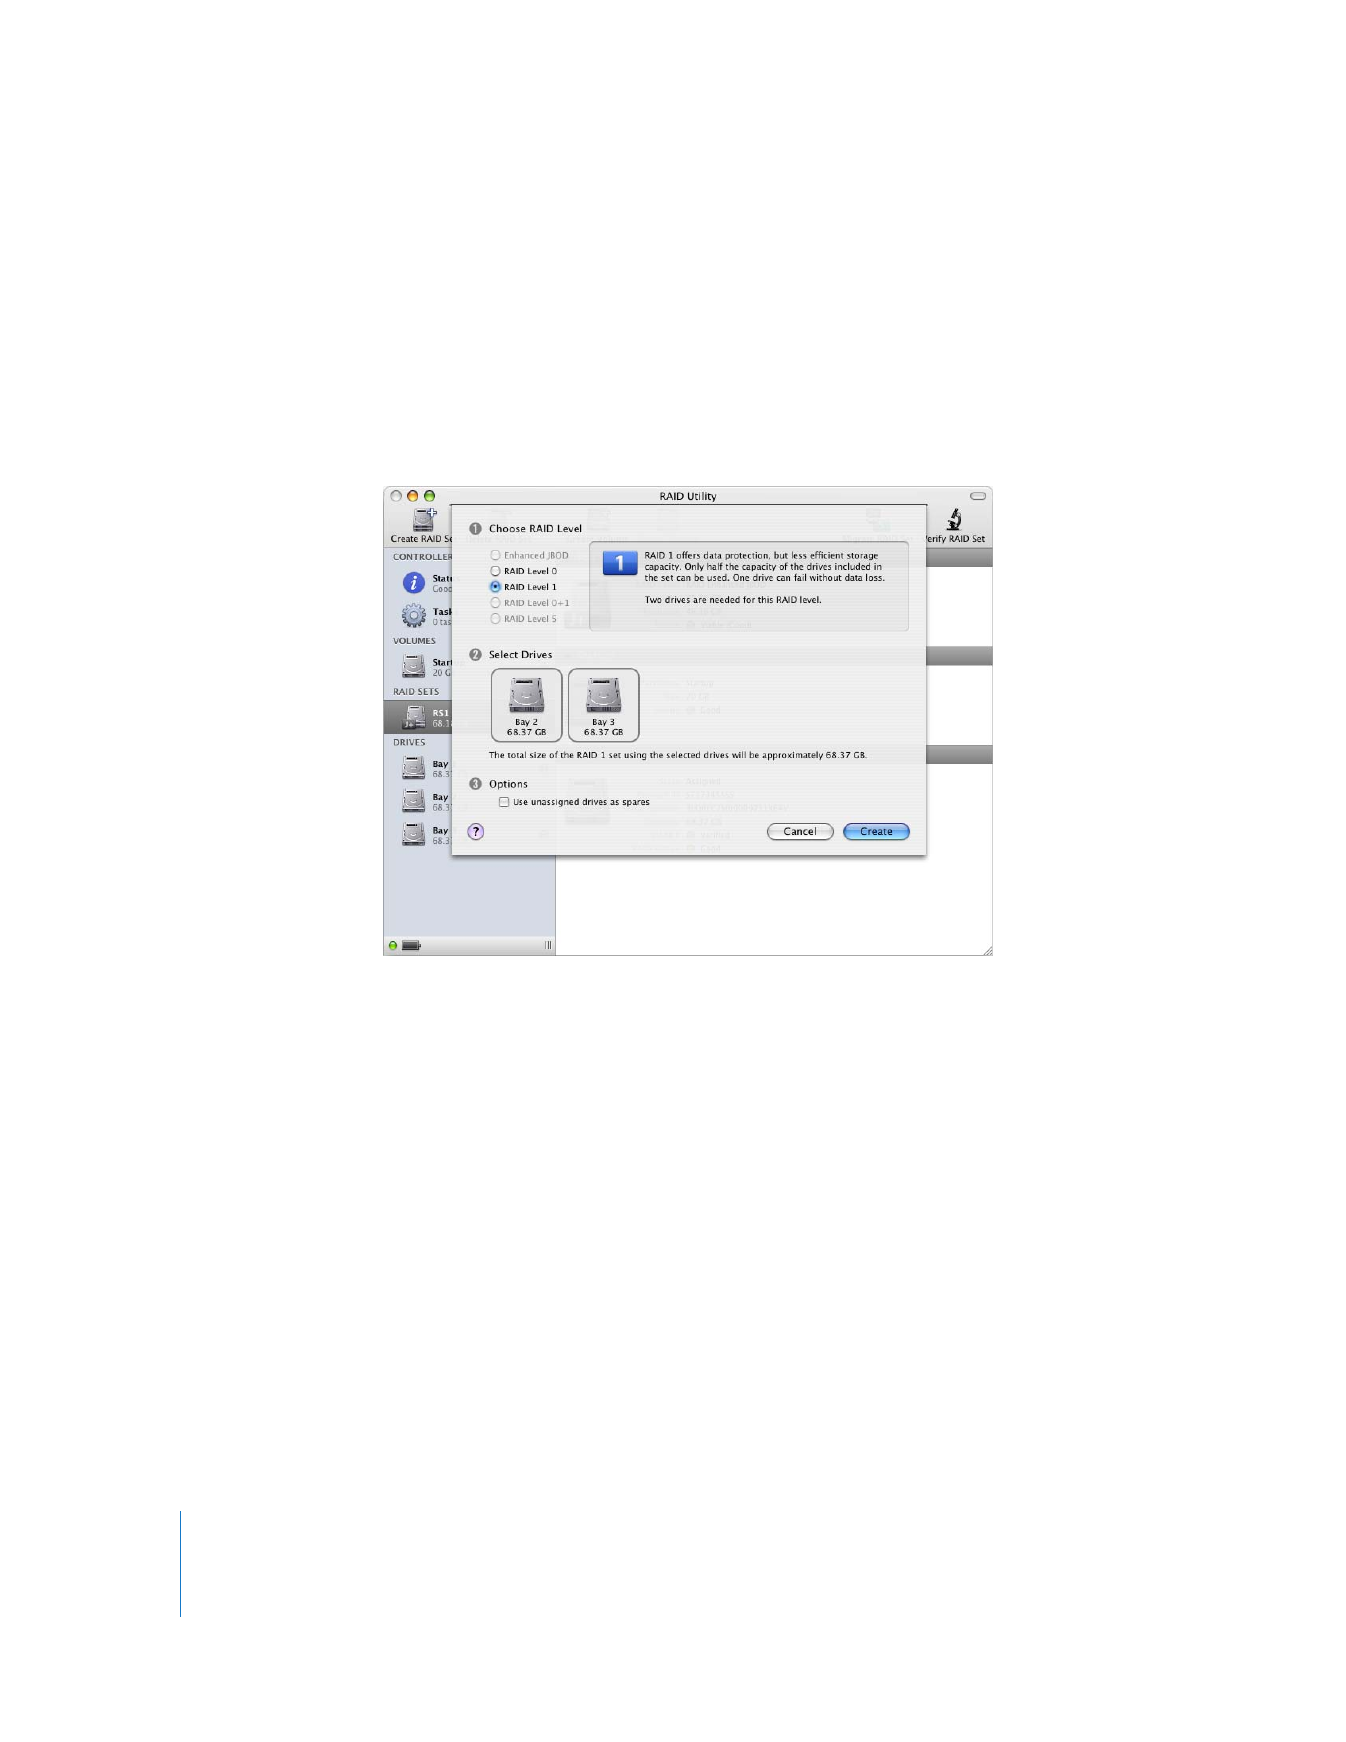
To create a RAID set:
1
Open RAID Utility and click Create RAID Set.
2
In the dialog that appears, choose the RAID level you want to use.
The RAID levels you can select depend on the number of drives you choose. If the RAID
level you want to use is not enabled, try selecting additional drives.
3
Select the drives you want to include in the set.
4
Select the options that you want to apply to the set.
Use unassigned drives as spares:
Reserves any drive not selected for the RAID set as a
spare that will be used if a drive in the set fails. You can’t assign a spare to a RAID 0 or
Enhanced JBOD set.
5
Click Create.
For information about RAID levels, see “About RAID Levels” on page 15.
9